
Do you ever just walk in to your home and it just hits you..This room needs a makeover! I did just that, to my kitchen. I knew exactly what I wanted to do, but with little cost as possible. I wanted to repurpose as much as I could from any leftover materials from other home projects. I bought a nice bright plaid to re-upholstery my kitchen chairs & make curtain toppers. I used the scraps to make my rugs. This is my tutorial for making the rug. I hope that you find it easy to follow and make.
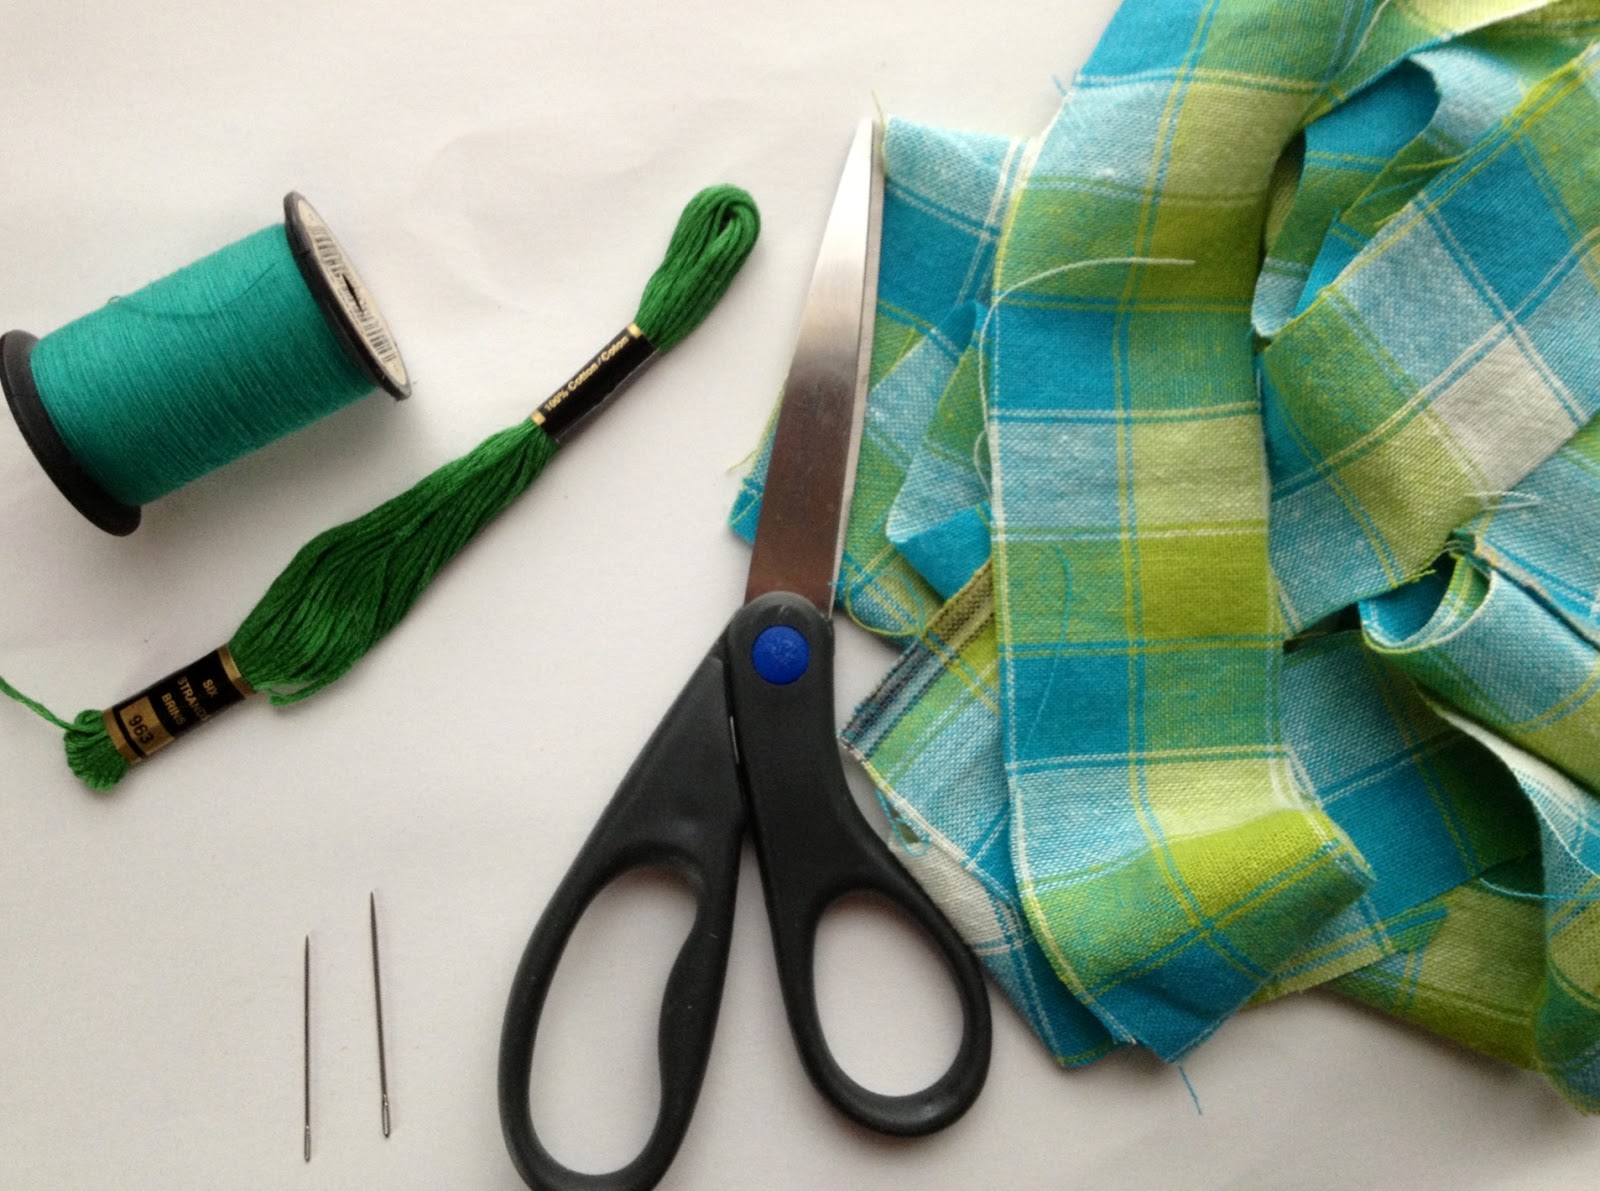 | |||
| Materials needed |
You will need-
- Scraps cut into 2-3 inches wide & about a foot long
- Embroidery floss
- 1 Embroidery needle- This needle & floss are thicker & sturdier
- 1 sewing needle
- Thread
- Scissors
- Safety pin
.JPG)
Use safety pin to hold three of your scraps & use thread in matching color to sew ends together.
.JPG)
Braiding the scraps too loosely and the braid will open up when stepped on. If it's too tight your strands will not be flexible to sew and may pucker the center of the rug. You can use the safety pin and pin the sewn ends into something to hold it steady while you braid.
.JPG)
Once you have a braid, roll into a round or oval shape. Pick one side to be the wrong side and sew your braid together only on this side.
.JPG)
Separate the floss into 3 strands and use the embroidery needle to sew the sides of the braid together. Stop a couple of inches before the end of the scraps.
To lengthen your scraps use the another scrap and sew the ends together with thread and needle. Keep adding & sewing scraps together till its long enough to continue making your rug.

Keep repeating the process...
- Sew the sides of the braids with embroidery needle & 3 strand width floss.
- Stop a couple of inches before getting to the ends of scraps.
- Using sewing needle & thread sew scrap ends together to lengthen.
- Braid scrap strands.
 | |||||||||
| Scrap rug |
Once you have achieved the size you would like, sew the scrap ends together and tuck carefully into braid. Use floss to sew side braids together. Place the rug on the ground to check if there are any gaps as you see here. Use your floss and sew the gaps shut. It may pucker in the center if the braids are to tight, but don't worry it will go down in time. If you wish you, you can hot glue a non-slip backing to the wrong side. Wash in gentle cycle.
Once you get the hang of this your going to find yourself looking at old t-shirts, jeans or sheets as possible scraps. You can make the rugs match your rooms color schemes. Go for it and make the rugs wider. Go small to make coasters & potholders. Mix small oval shapes with circle shapes to make funky rugs or placemats. Whichever it is you choose to make, I hope that you enjoy yourselves while being creative and saving money.